STANDARD FEATURES

Case
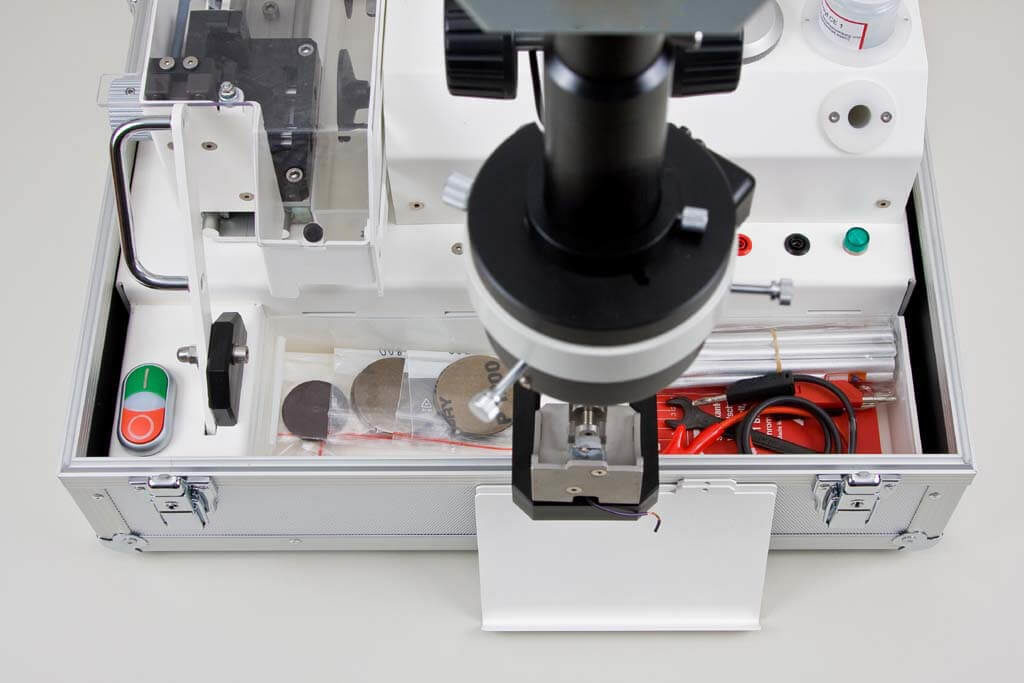
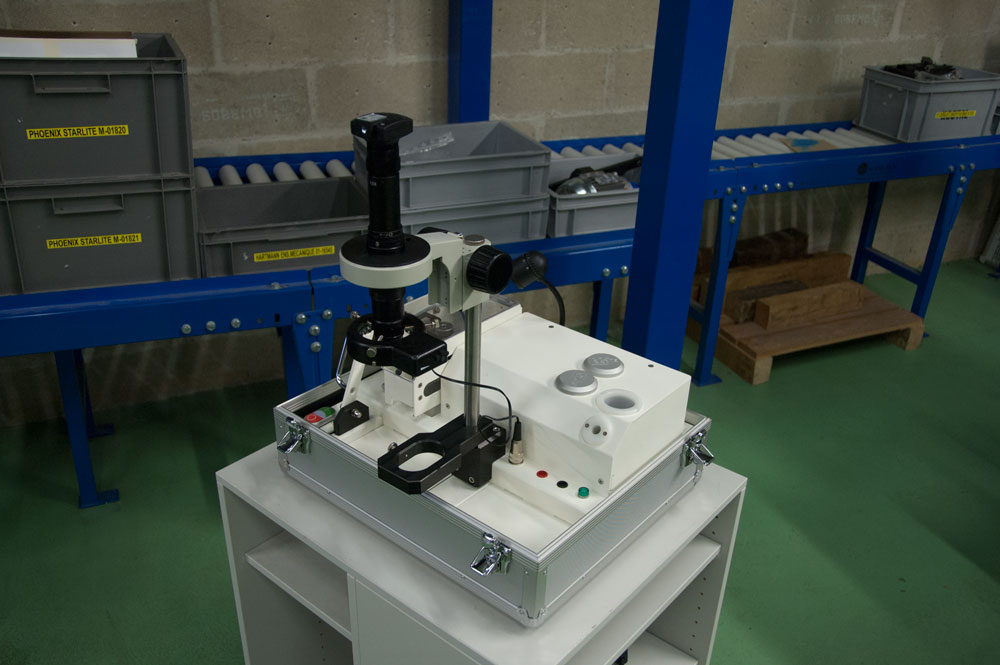
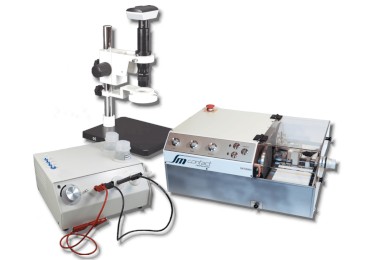
SKP 4000 case has a handle for convenient movement and a compartment for safe transportation of the optical lens. It was designed for being frequently moved, e.g. between rooms or to the premises of the third part. The firm metal lids are quickly opened using clamp fasteners.
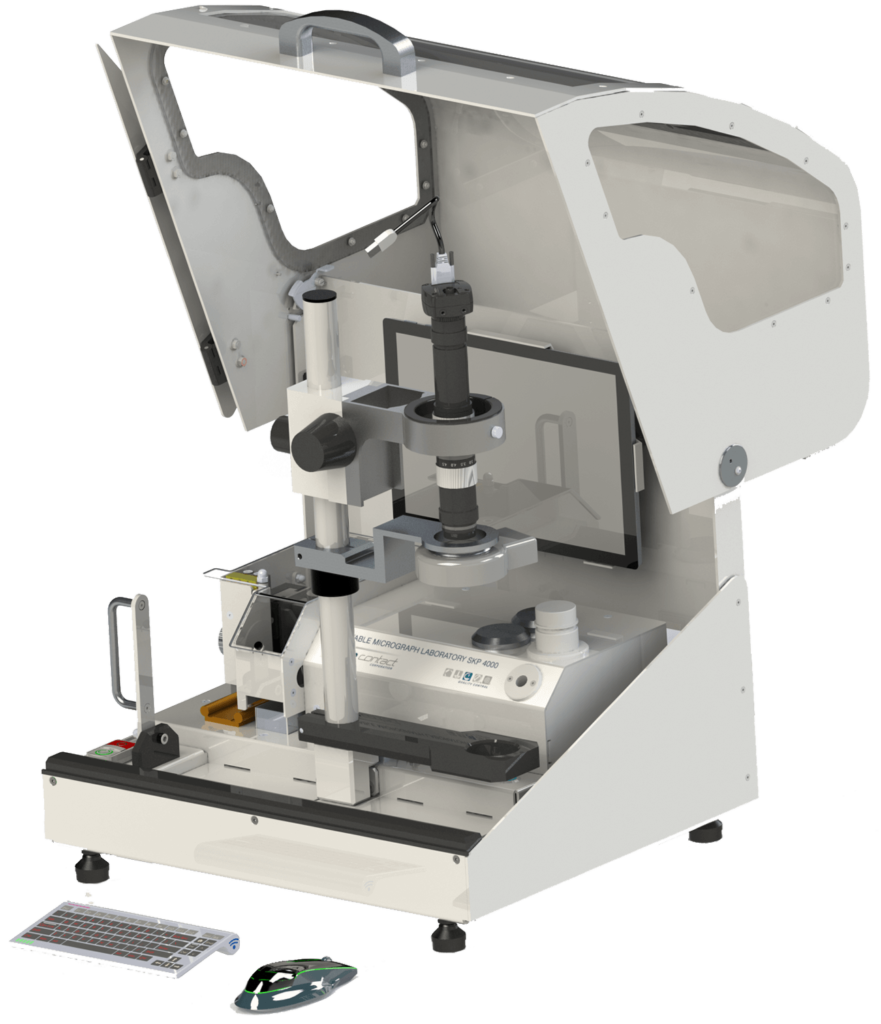
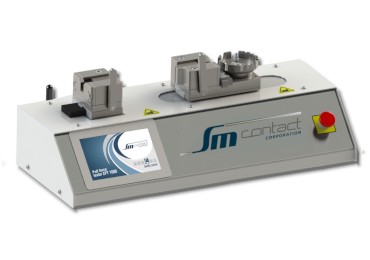
SKB 4000 is a benchtop version more adapted for work within one place. It has a protective cover which could be closed and locked at the end of work to keep the device safe from environmental impact.
Cutting & grinding module
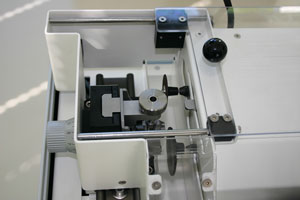
This module consists of a cutting wheel, grinding wheel and a transport carriage.
To start the process operator places a sample into a sample holder and a sample holder into the carriage. As soon as a protective cover is closed, the discs could be launched. Carriage is moved between the discs with a lever and its proximity to the disk is adjusted with a feed screw.
The cutting and grinding module rotational speed can be separately regulated from 5 000 to 20 000 rpm.
Innovative sample holder
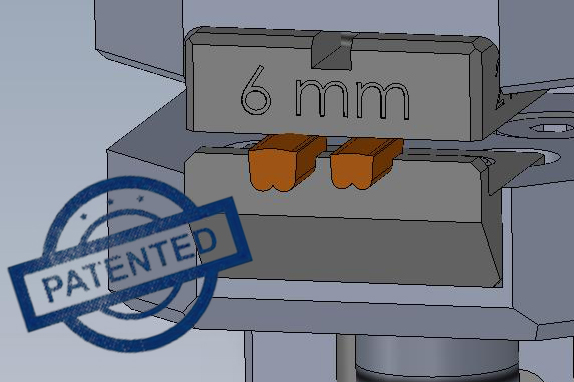
Brand new holder by SM Contact has interchangeable jaws adapted to corresponding connection.
Its shape precisely follows the shape of a sample, while special stop block fixes the sample at the same horizontal axial position. As a result perpendicular sample position and proper cut guarantee valid measurement results.
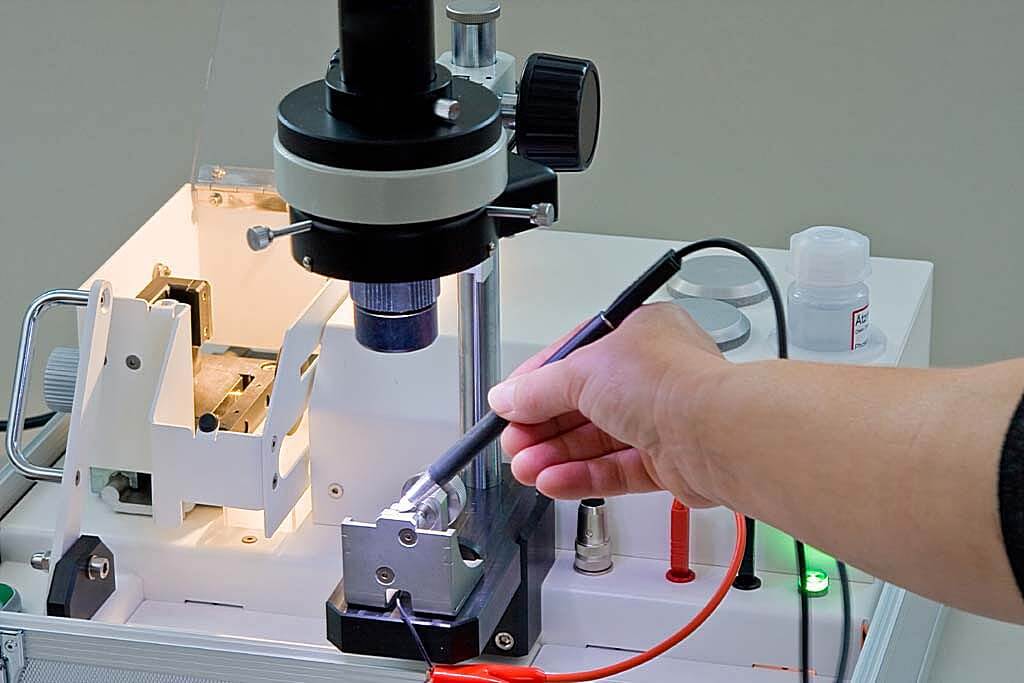
Etching module
Etching is necessary to make relevant details of a cross-section more visible. The current is applied to the sample holder and a felt pen dipped in electrolyte is used as a cathode.
Stable position of a sample holder is assured by the special receptacle and the etching time is limited with an adjustable timer for reasons of energy saving and safety.
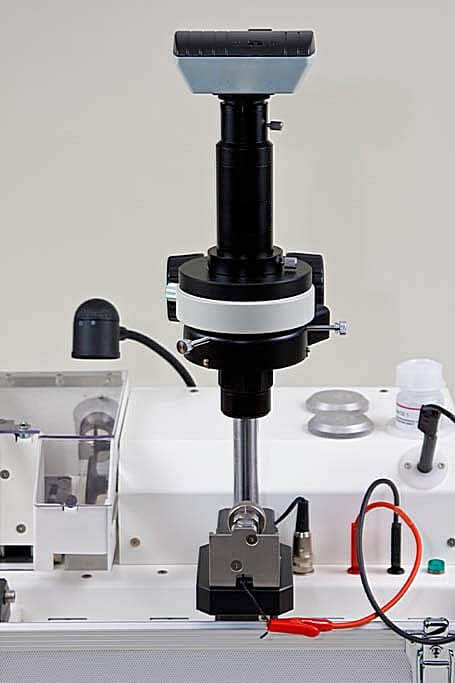
Imaging
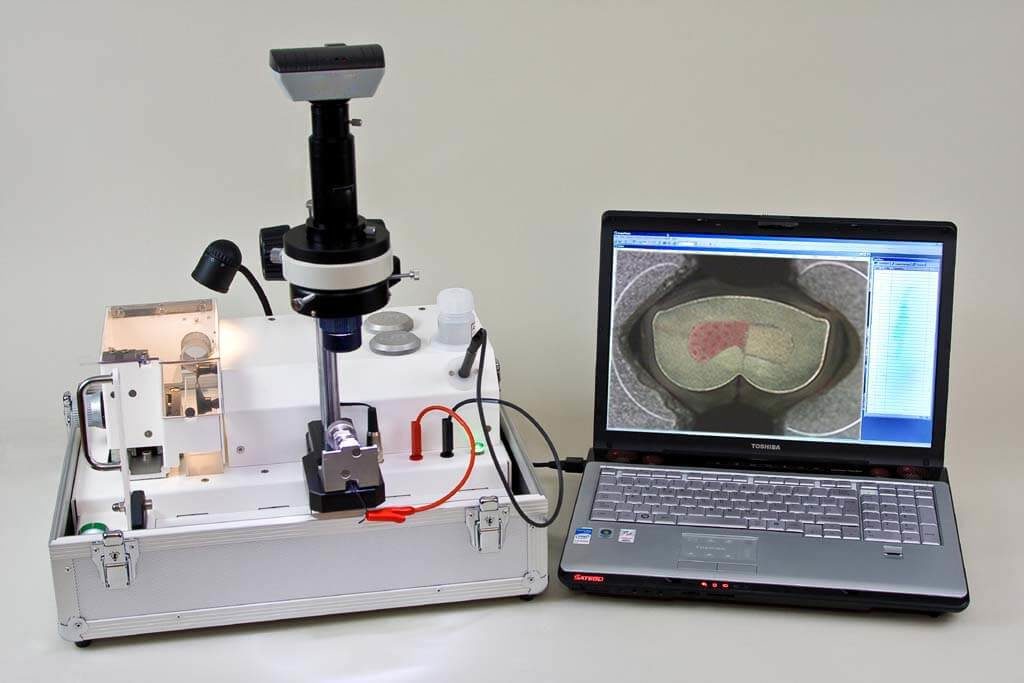
Prepared sample is located under the microscope to capture the image to be measured. Zoom lens with USB camera transfers the image to the standalone PC (SKP 4000) or to the built-in tablet (SKB 4000). Adjustable ring LED light provides good visibility.
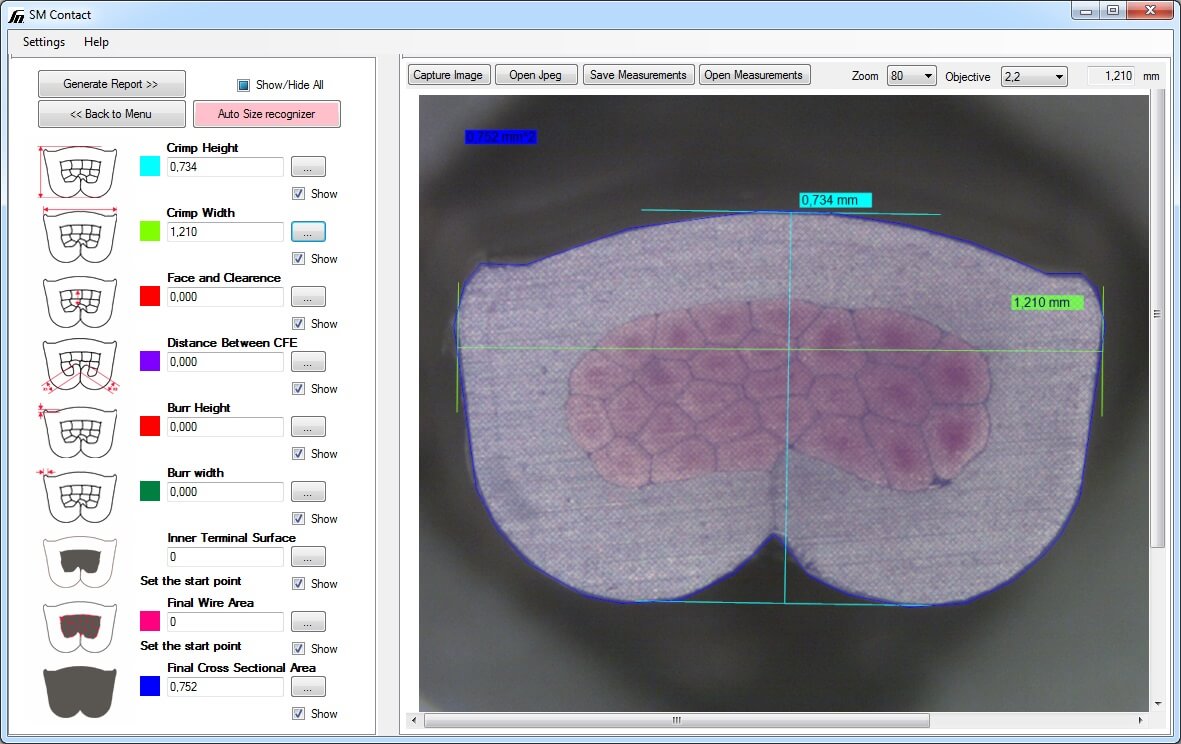
Viso 6.00 measurement software
Captured image is measured with a help of special software – Viso 6.00. Operator chooses the parameters to measure, its reference values and performs the measurement on a cross-section image: measurements with appropriate presets or comparison to the Control list.
It also provides dimensions detection and data export to PDF format.
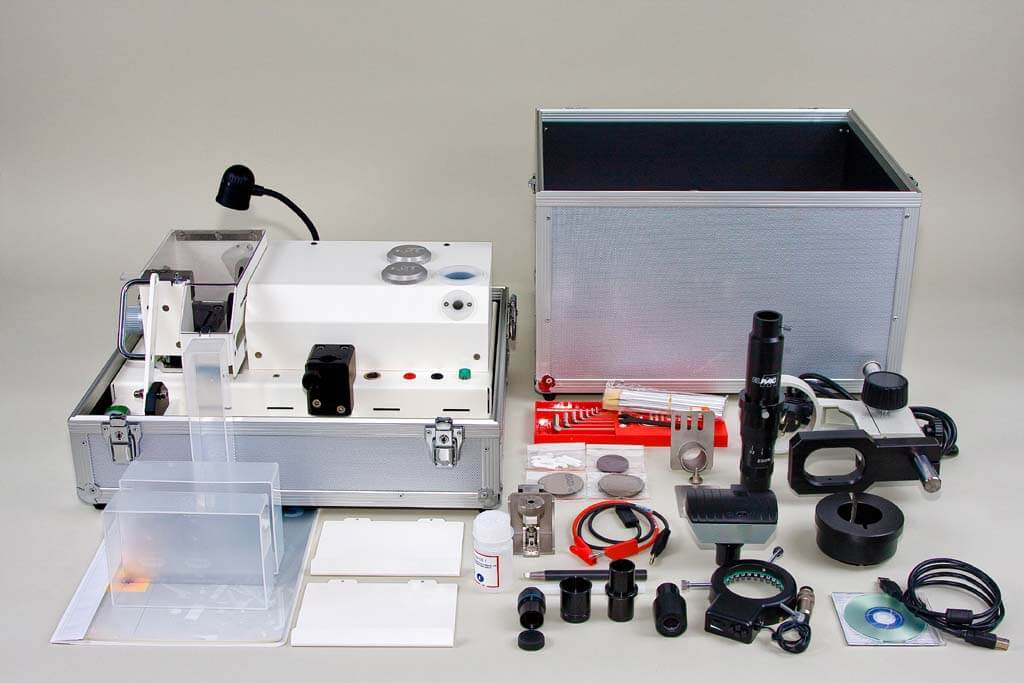
Supply kit
All the necessary spare parts and consumables are included into supply kit: abrasive papers, cutting disks, etching pen inserts, electrolyte, crossline reticle, etc. It is also available on stock on tooling.smcontact.eu
OPTIONS

Viso 6.00 automatic quality control
All the measurement results could be automatically uploaded to Customer‘s private area in SM Cloud data storage. If they diverge from the Control list, SM Contact engineers get a signal and provide Customer with the assistance.

